【Objective-C】iPhoneアプリ開発:TapkuLibraryでカレンダー表示
2012/12/21 カテゴリー:アプリ開発 タグ:タグ: Objective-C, TapkuLibrary
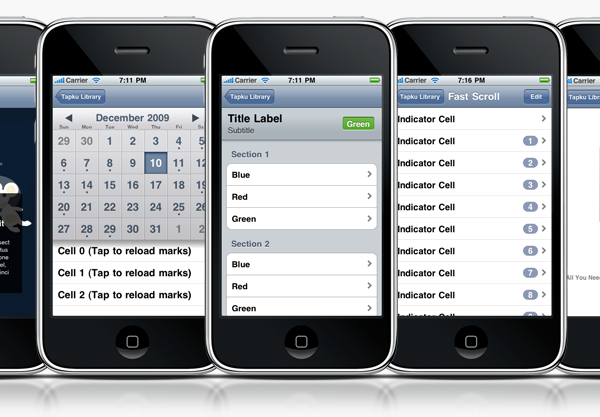
TapkuLibraryでカレンダー表示をするための手順を簡単に整理しました。
TapkuLibraryでカレンダー表示をするための手順 備忘録
まず、ライブラリーをダウンロード
devinross/tapkulibrary GitHub
ダウンロードし、解凍してできたファイルの中のsrcを作成中のプロジェクトファイル内にコピー
ここから
・TapkuLibrary.xcodeprojをFrameworksに追加。
(☆ Copy items into destination….に必ずチェックを入れる) 
・TapkuLibrary.bundleをResources(なければ作る)に追加。
(☆ Copy items into destination….に必ずチェックを入れる)
次に、プロジェクトの「Target Dependencies」にTapkuLibraryを追加

「Link Binary With Libraries」にlibTapkuLibrary.a、MapKit.framework、QuartzCore.frameworkを追加

「Other Linker Flags」に”-all_load -ObjC”を指定
「Build Settings」の「Header Search Paths」に ”${PROJECT_DIR}/src/”を入力

作成するクラスはまずはUIViewControllerで(多分)
ViewController.h
#import <TapkuLibrary/TapkuLibrary.h>
@interface WKCalendar : <span style="text-decoration: underline;"><span style="color: #339966; text-decoration: underline;">TKCalendarMonthTableViewController</span></span>
<TKCalendarMonthViewDelegate,TKCalendarMonthViewDataSource>
{
TKCalendarMonthView *calendarView;
}
@property (nonatomic,retain) TKCalendarMonthView *calendarView;
ViewController.m
@synthesize calendarView;

- (void)viewDidLoad
{
[super viewDidLoad];
// Do any additional setup after loading the view, typically from a nib.

// カレンダービューを作成
calendarView = [[TKCalendarMonthView alloc]init ];
calendarView.delegate = self;
calendarView.dataSource = self;
[self.view addSubview:calendarView];

[calendarView reload];

}


この記事はお役に立ちましたか?
«前へ 【Objective-C】iPhoneアプリ開発:シンプル UIScrollView 次へ» 優雅にベランダライフを満喫!山善 ガーデンマスター フォールディングチェア&テーブル
あわせて読みたい
-
配列NSArrayとNSMutableArrayのよく使う構文
-

UITableViewのテンプレート
-
超簡単にXcode5でstoryboardを使わずに新規プロジェクトを作る方法
-

iPhone, iPadの画面の向きを検出する【起動時と変化時】
-

Xcode5ではstoryboardを使わなきゃいけないの!?
-

【iOS In-App Purchases (アプリ内課金)】Product IDが認識されなかった時にやったこと
-

iPhoneアプリ開発で使うと便利!sortedArrayUsingDescriptorsで昇順、降順の並び替え
-

【Objective-C】iPhoneアプリの作成方法:iOS In-App Purchases (アプリ内課金)プログラム 整理
-

あなたは大丈夫?こんな生活習慣がメタボ腹を作る!10のチェックポイント
同じカテゴリーのみんなの記事


このブログについて

開発アプリ


")
